Getting Glass Annealing Right with Infrared
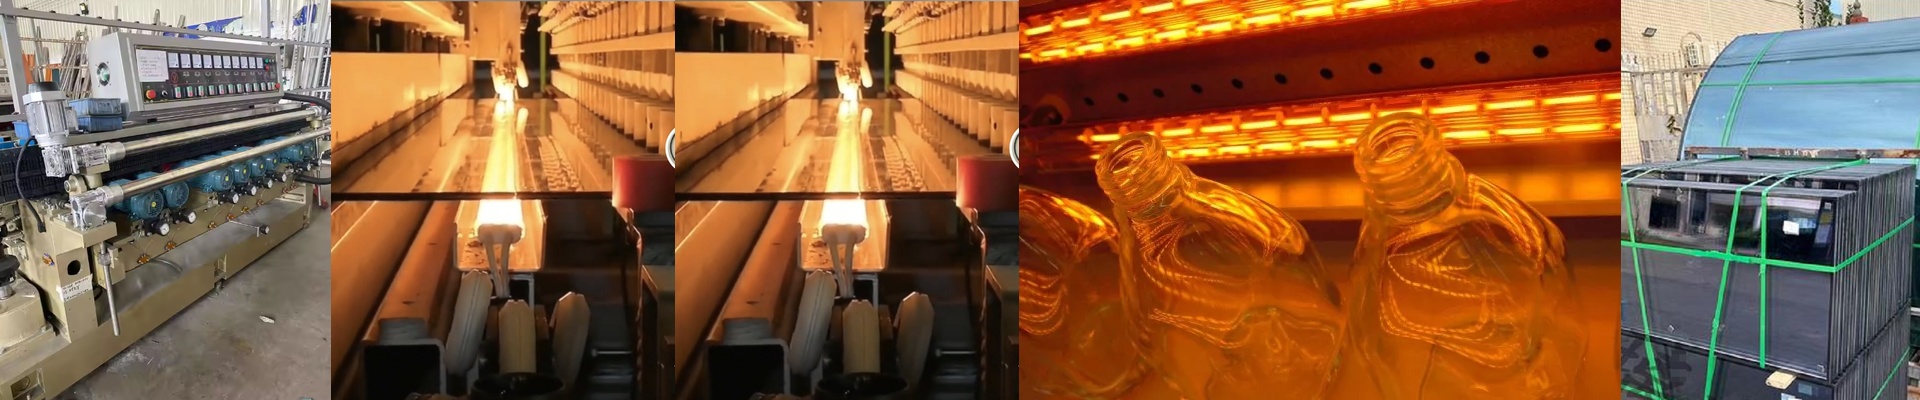
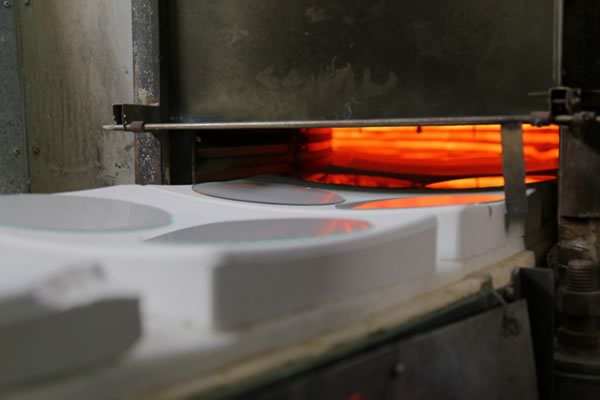
Ever had a piece of lab glassware just… explode? Maybe it was a tiny scratch or a quick temperature change, but suddenly your beaker is in a thousand pieces. That happens because of internal stress. If you cool glass too fast or unevenly, you’re basically trapping tension inside the material. It’s a ticking time bomb. We stop that from happening by using infrared (IR) heating that stays steady within 0.1°C. Why obsess over 0.1°C? Glass has a very specific “sweet spot” called the annealing point. This is where the stress relaxes, but the glass doesn’t actually start to melt or warp. For borosilicate glass, that window is tiny. If your heater jumps around by even 2 or 5 degrees, you’re in trouble. You either overshoot and the glass starts to sag, or you undershoot and the stress stays locked in. To keep things steady, we pair high-density IR elements with PID controllers. It stops that “thermal shock” feeling where the outside of the glass gets hot way before the core does. Handling the heat The great thing about IR is that it hits the glass directly. You aren’t wasting time heating up the entire air volume of an oven, so there’s way less lag. But there’s a catch: hot spots. To fix that, we use elements with special emissivity coatings. It just ensures the heat spreads evenly across the whole shape of the container. No weird hot zones. And here’s a tip: you’ve got to use fast-response thermocouples. If your sensor is sluggish, it doesn’t matter how precise your heater is. The controller will be reacting to what happened seconds ago, not what’s happening now. The trade-offs If you want this kind of precision, you need clean power. Period. Voltage spikes cause the elements to flicker. You might not see it, but the glass feels it as temperature ripples. To stop that, you’ll need a stabilized power supply. Sure, it makes your control cabinet a bit bigger. But it’s the only way to be sure your glassware won’t shatter the first time it hits a sterilization cycle.