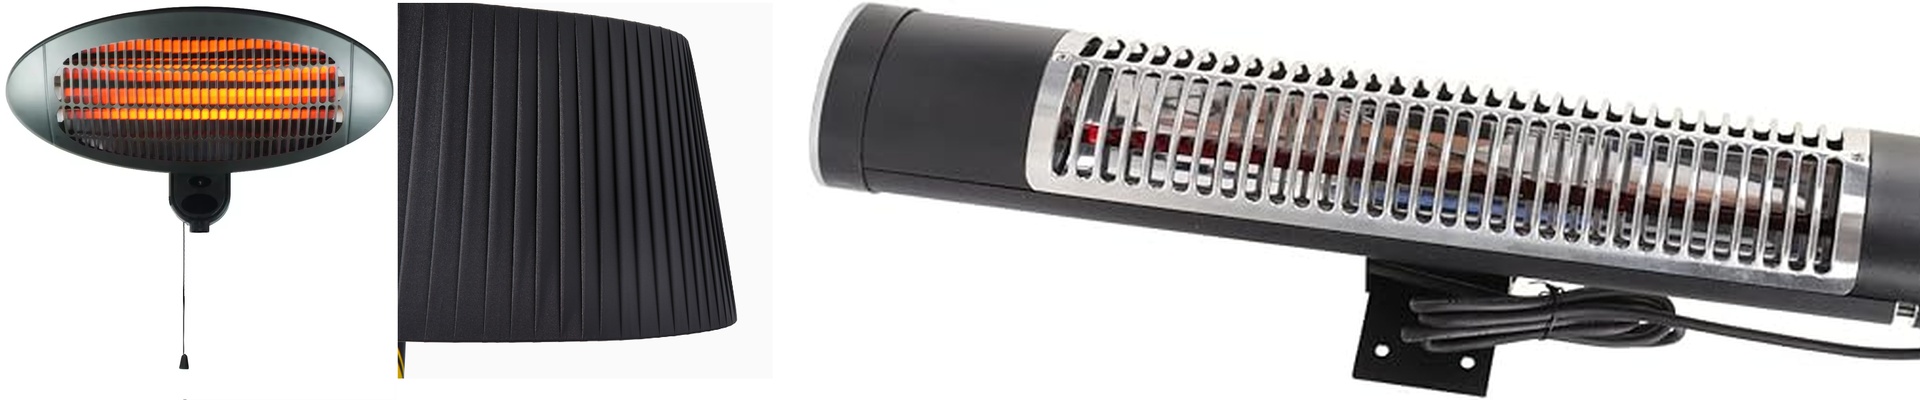
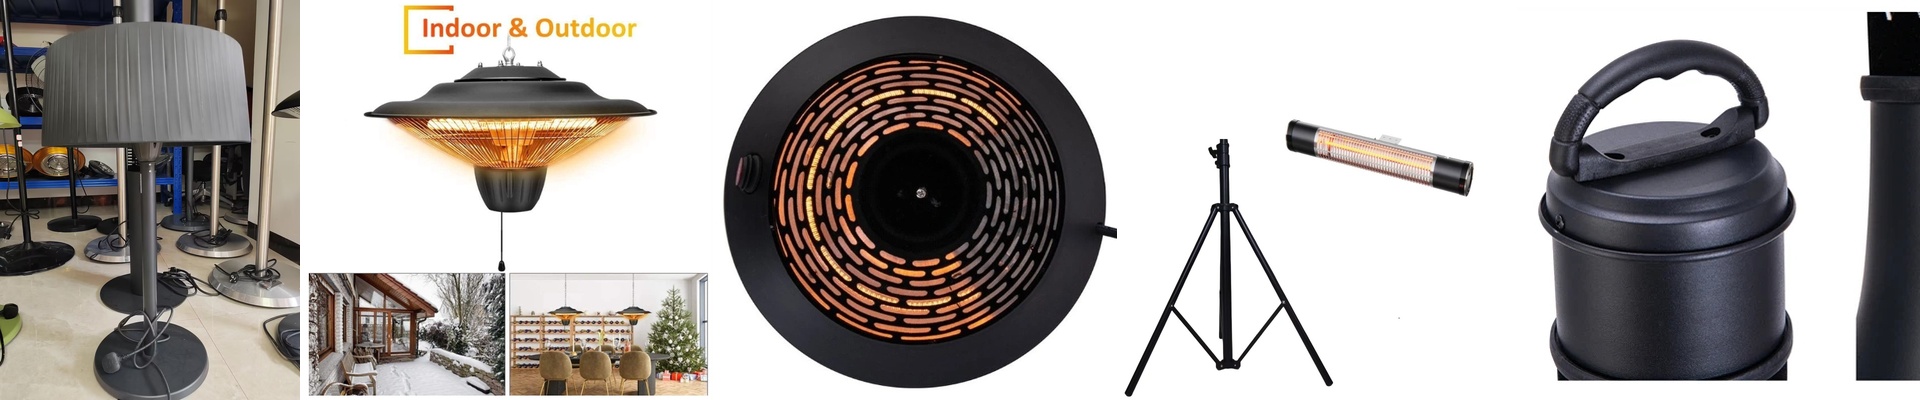
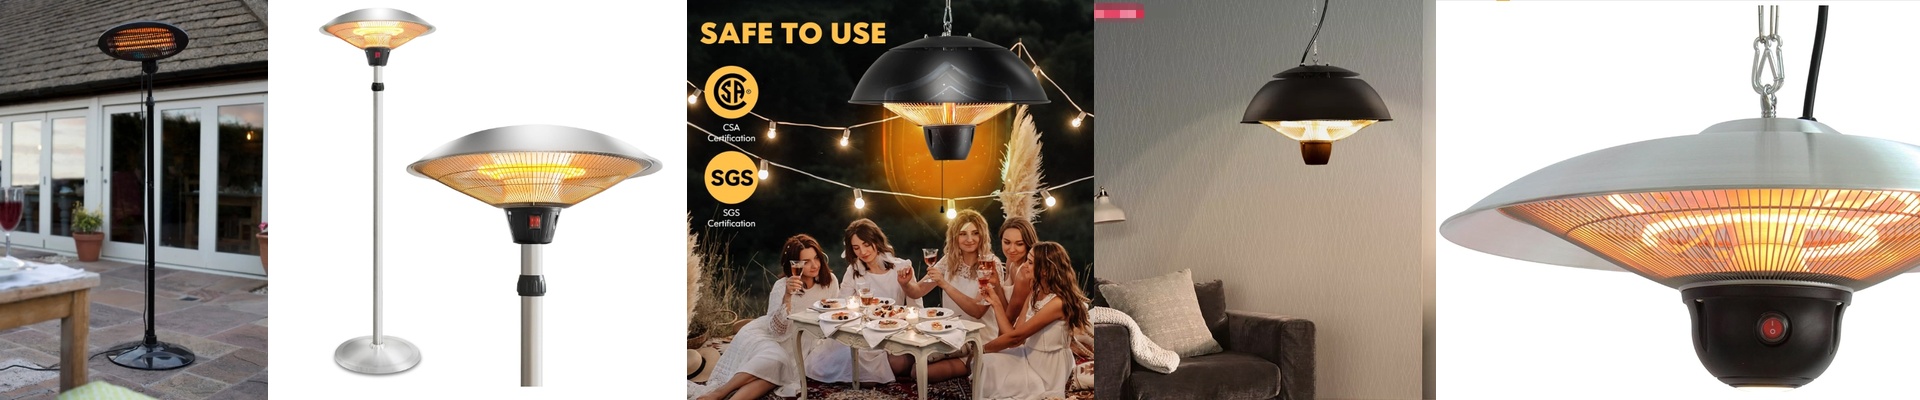
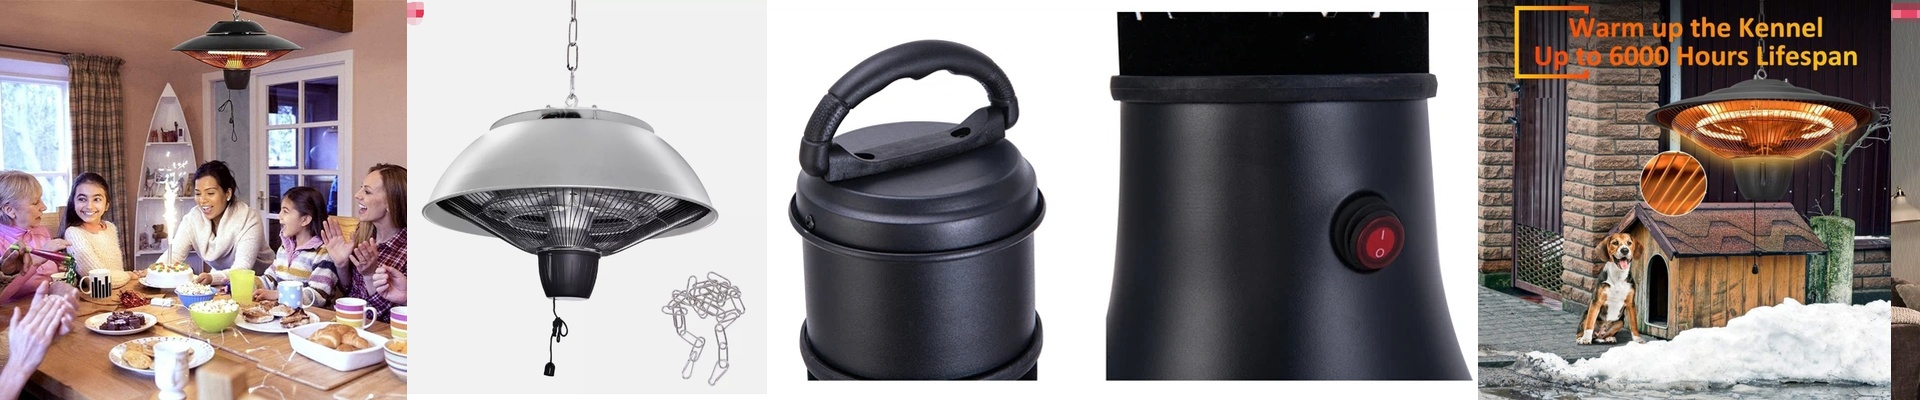
Keeping Your Outdoor Infrared Heaters Actually Working
Let’s be honest: outdoor heaters have a rough life. They deal with freezing rain, humidity, and layers of dust. Eventually, things wear out. Usually, when a heating tube burns out after a few years, the real headache isn’t the price of the part. It’s the absolute nightmare of the labor. You’re staring at hours of downtime and a lot of swearing while trying to swap a single piece of glass.
Why we went with a modular setup
We didn’t want you to have to tear down an entire chassis just to fix one tube. That’s just bad design. Instead of soldering everything into one giant, messy junction box, we built these as plug-and-play modules. If a section fails, you just pull that specific part out of the waterproof housing. You don’t have to touch the rest of the electrical system. It turns a “whole afternoon project” into a quick swap.
The struggle with waterproofing
Usually, if something is IP-rated (waterproof), it’s sealed shut forever. You basically have to break the machine to fix it. We figured out a better way using gasketed inserts. Think of it like a sealed cassette. The heating element lives inside this little pod; when it’s time for maintenance, you slide the cassette out, swap the tube, and slide it back in. The housing stays exactly as it was, so the seal stays tight. No leaks, no drama.
The honest trade-offs
Now, look—nothing is perfect. Using connectors instead of a permanent solder means you have more contact points. Because of that, you’ve got to make sure those connectors are tightened down properly. If they’re loose, you might deal with voltage drops or sparking. If you’re running a high-wattage setup, just make it a habit to check those connections every couple of years. At the end of the day, we built this for the person who doesn’t want to spend six hours on a ladder in the cold. You pop the module, swap the tube, and you’re done. It’s a simple way to keep the heat on without needing a total system overhaul.